



Table of contents
Building a mending kit starts with the clothes you actually wear. A loose shirt button, an opening hem and a small split seam each call for a different response, but none needs a cupboard full of equipment. A modest, organised set of tools makes it easier to notice a problem and deal with it before the garment disappears into a forgotten repair pile.
The aim is to give everyday maintenance a place in your routine. Start with familiar fabrics and a repair you can see clearly. Save an expensive, delicate or technically complicated item for someone with the right experience. A useful kit helps you recognise both the jobs you can attempt and the ones worth taking to a tailor.
Let one real repair guide your first tools
Put a clean garment on a table and examine what has happened. Is the thread broken while the fabric remains sound? Is the button missing, or has the cloth around it torn? Looking closely changes the shopping list. A needle and matching thread may solve one problem; weakened fabric may require reinforcement or professional attention.
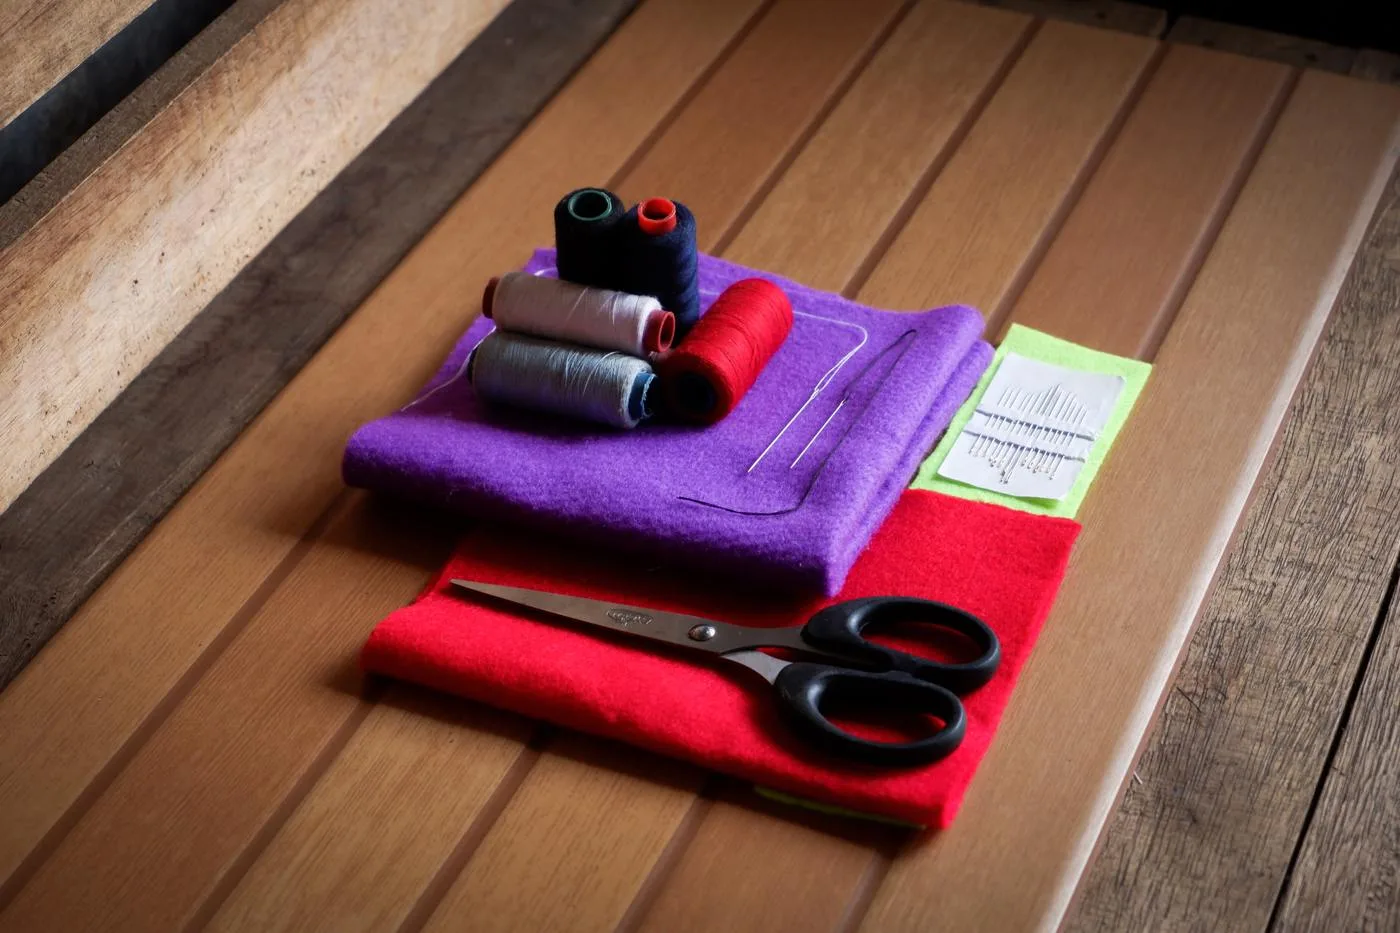
Keep the first collection small enough to inspect without emptying it. Needles, a few thread colours, small sharp scissors, pins and spare buttons cover a useful starting range. The same principle behind organising a bookshelf around the books you use applies here: accessibility matters more than owning everything.
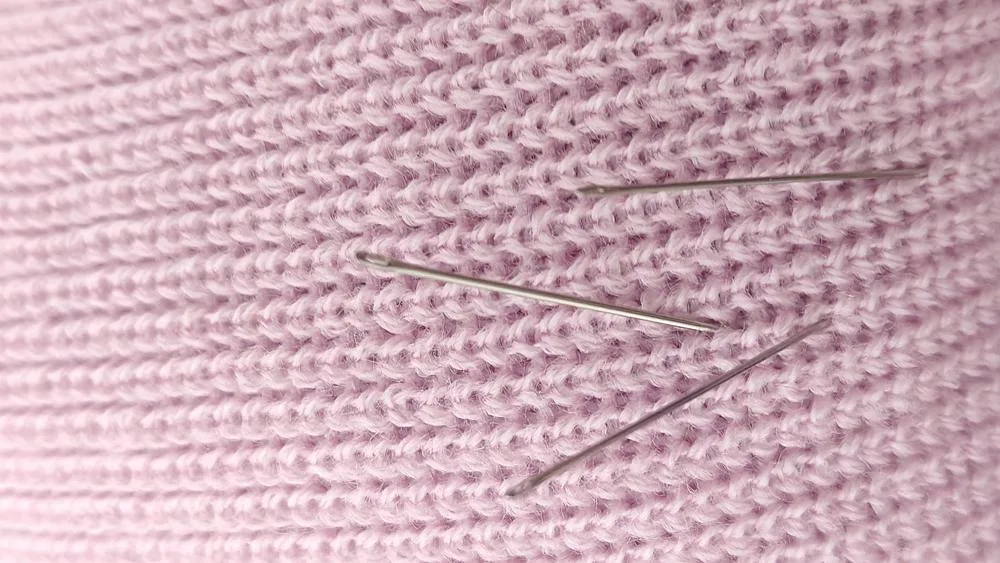
The hand-sewing toolkit published by iFixit distinguishes needles by their eye, shaft and point. That is a better buying guide than choosing the largest packet. The needle must accommodate the thread and suit the fabric; thicker is not automatically better. A needle threader can make a small eye easier to manage.
Choose thread and cutting tools with a purpose
Begin with colours that appear repeatedly in your wardrobe. Black, white or a neutral shade may be useful, but inspect the actual garment in good light before deciding. Wind loose thread neatly and keep its label where possible. A tangled collection of unmarked leftovers makes a simple task unnecessarily frustrating.

Give fabric scissors a clear job and keep them away from paper and packaging. Small scissors or thread snips are useful near a finished seam. A seam ripper removes stitches, but practise on a scrap before using one on clothing you value. Pulling hard at a seam can make a modest repair more difficult.
A flexible tape measure, a secure place for pins and a small selection of buttons can sit together in the same box. Label spare buttons with the garment they belong to. That small note preserves information in much the same way as keeping the stories beside family recipes; the object becomes easier to use when its context stays attached.
Make the container part of the working method
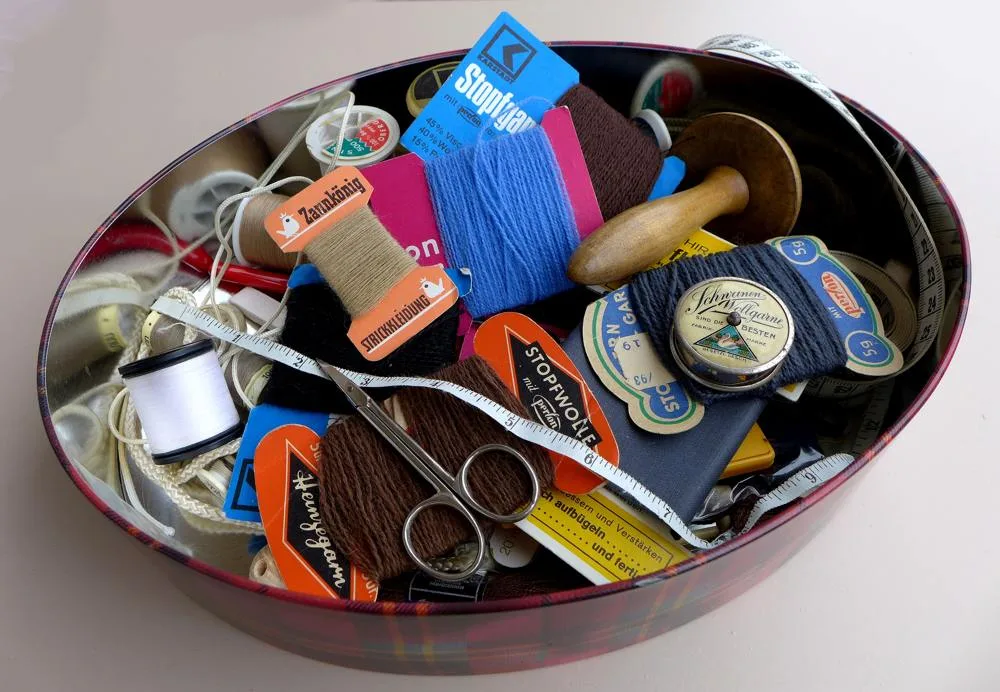
Divert NS’s repair resource guide suggests reusing a shoebox or biscuit tin as a textile repair container. You do not need a purpose-built case. Choose something clean, dry and easy to close, then separate sharp tools from loose thread. Put needles in a holder rather than leaving them hidden among fabric scraps.
Keep the box where you can reach it while keeping pins, needles, scissors and small buttons away from children and pets. Finish each session by counting sharp tools back into their holders. A half-completed repair should not leave an open needle on a chair, bed or shared dining table.
Add a small card for unfinished jobs: garment, problem, matching thread and next action. One shirt might need a replacement button; another might need a tailor’s opinion. This turns the repair pile into a short set of decisions instead of a vague reminder that something should be done.
Start with a straightforward button
StopWaste’s clothing repair guidance identifies a hand needle, sewing thread, a button and scissors as the essentials for sewing on a button. Choose an ordinary garment with intact cloth for practice. Check a neighbouring button for size, colour and thread pattern, and mark the correct position before beginning.

Patagonia’s four-hole-button guide on iFixit shows threading the needle, securing the thread, stitching through the button and finishing with knots underneath. Follow a complete guide suited to your button rather than guessing from a single photograph. Check the fastening gently afterwards and make sure the garment closes comfortably.
Do not assume every button repair is the same. Thick coats, unusual fastenings and damaged buttonholes may need a different technique. Patagonia also directs repairs on garments intended for children aged three or under to professional services because of small parts. The point is a wearable result, not completing every job yourself.
Expand only when another job calls for it
A patch, darning tool or specialised thread becomes useful when you have a suitable repair in mind. Check the garment’s care instructions and the repair material’s directions before using heat or adhesive. Practise first on something expendable. A visible mend can be a deliberate choice, but it should still suit the fabric and the way the garment moves.
The Repair Café Foundation advises visitors to contact local organisers if they need to know whether an appropriate repairer will be available. A community session can offer a chance to learn; a professional alteration service may be the better choice for a particular item. Availability and skills vary, so check before travelling.
Finally, return unused supplies, remove clipped threads and put the repaired garment back into use. Like caring for a home record collection, maintenance becomes easier when tools have a consistent home. A successful mending kit earns its space through small repairs completed, not through how impressive it looks when opened.


Isiagu Tobby
Wowplus editorial contributor.